
allright folks, although i am struggling through this lingering cold, i have a handful of handmade gift ideas i still want to share this week. let's start with a love letters banner. you may remember this sign i made for jesse at christmas.
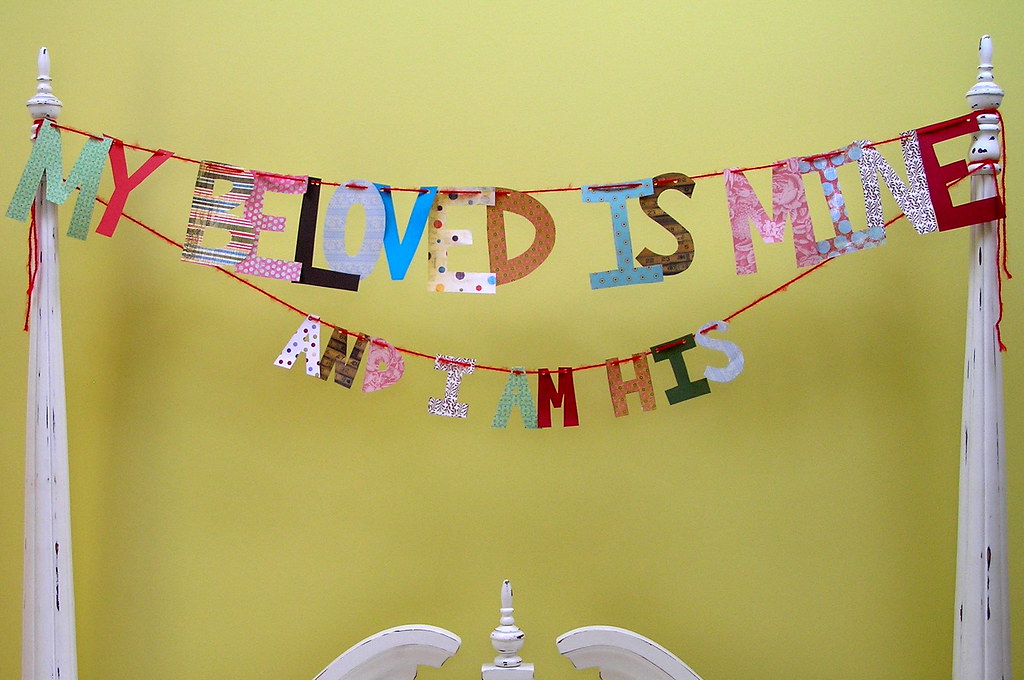
well, i mentioned then that i thought this would be a great v-day gift. since i had a sweet little banner idea for the gia-girl, i thought i would photograph the process for a simple tutorial.
materials needed:
cardboard
assorted scrapbook papers
rotary cutter, exacto knife, and/or scissors
self healing cutting mat (if using rotary cutter or exacto knife)
pencil and a good eraser
hole punch
yarn
my cost on this project was $0 because, once again, i had all materials on hand. one thing i have found in the last year, is how much more crafting i can get done with a simple self healing cutting mat and rotary cutter. some of the best things i ever added to my christmas/birthday lists.
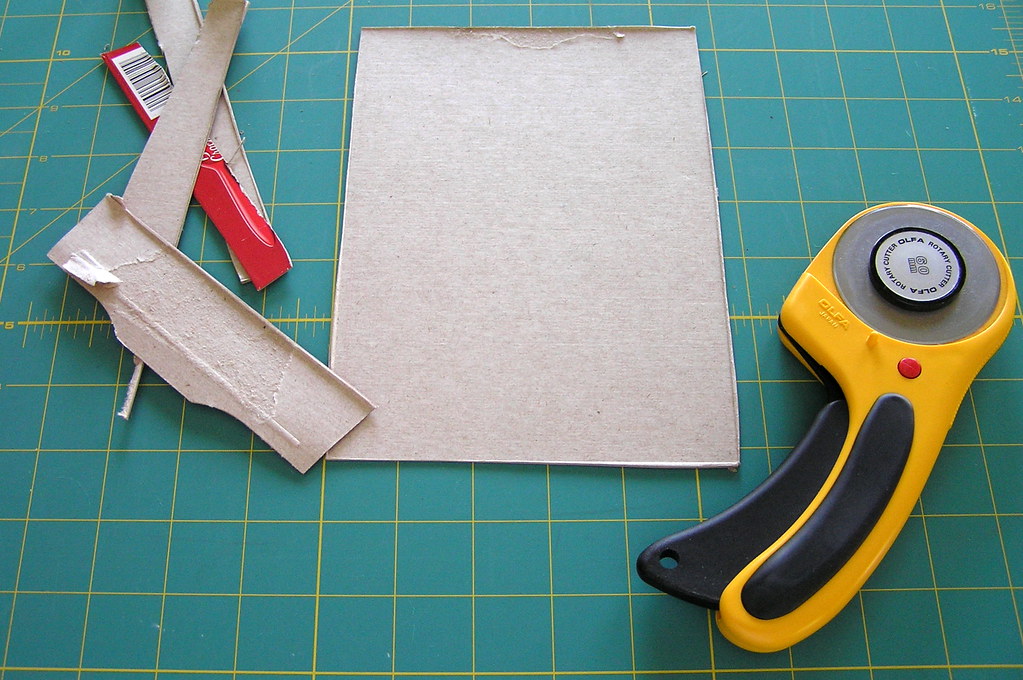
take a piece of cardboard. i used the side of an empty box (salvaged from the recycling bin).
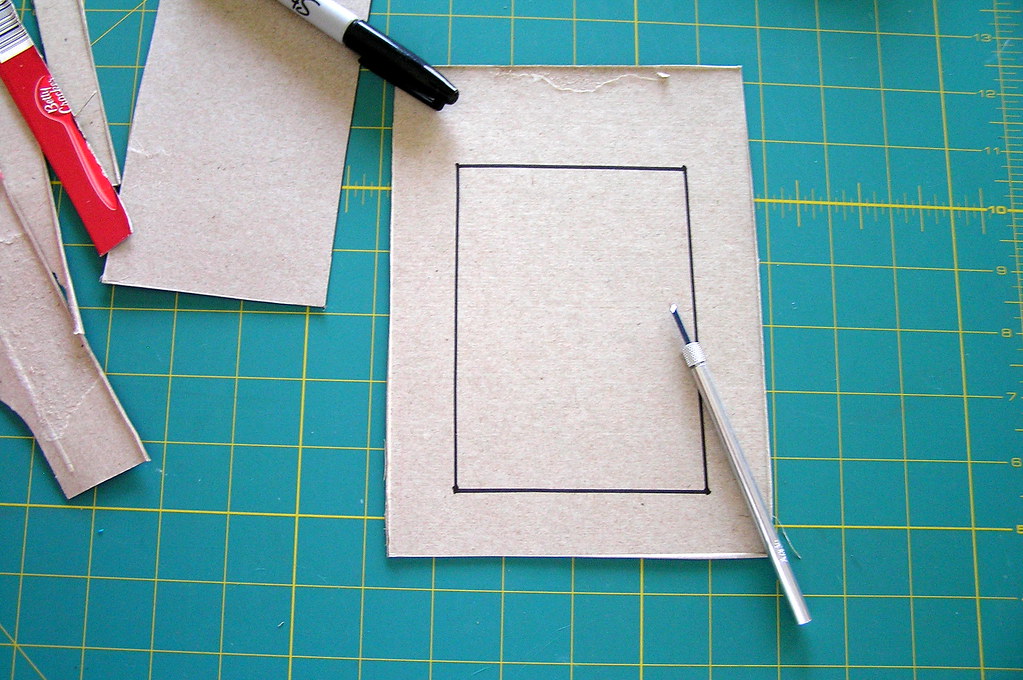
mark the letter size. decide the banner size/length beforehand and use that to help you figure out letter size) mine are approximately 3.5 by 5 inches.
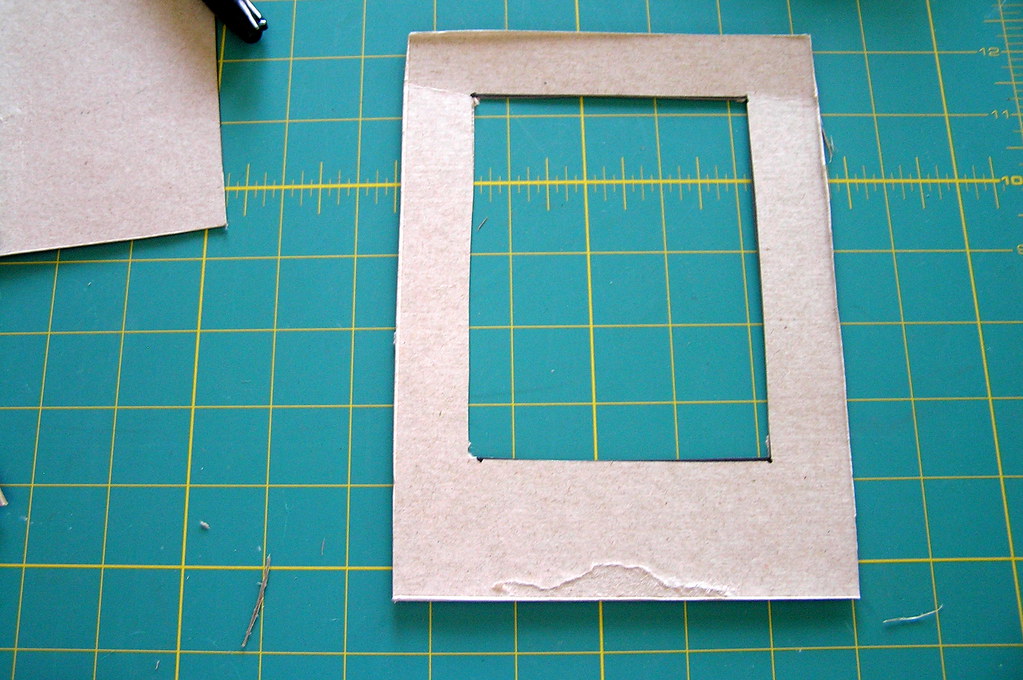
cut out the opening.

place frame over your decorative paper and draw your letter. i freehand my letters and like the way this looks. it is imperfect, but the combined effect of the letters is sweet.
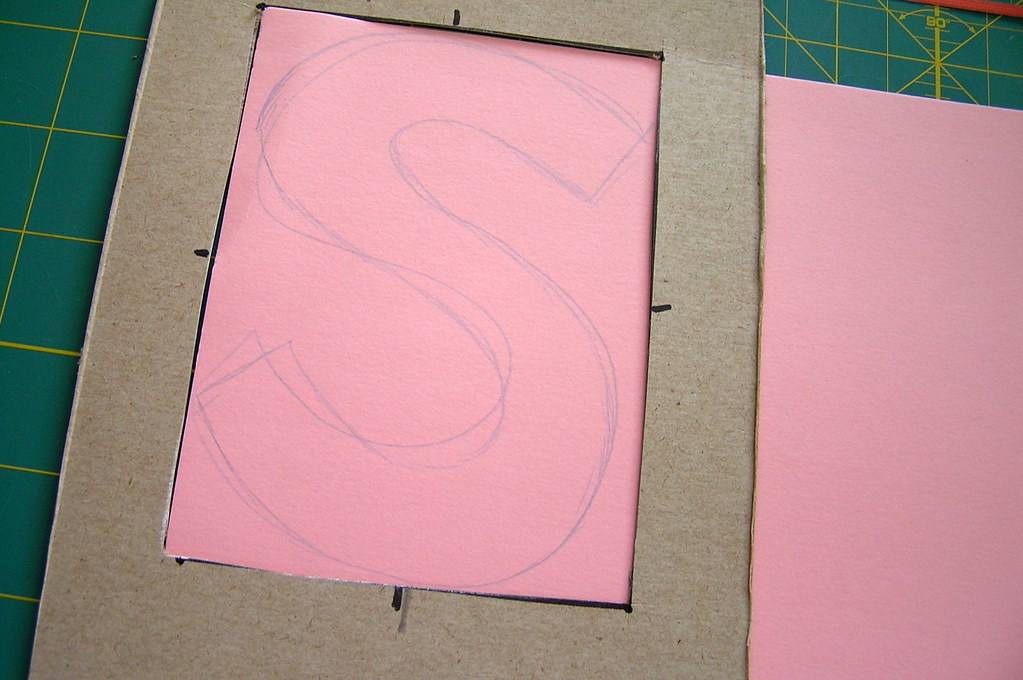
sometimes i need to play around with this. see all my pencil marks.
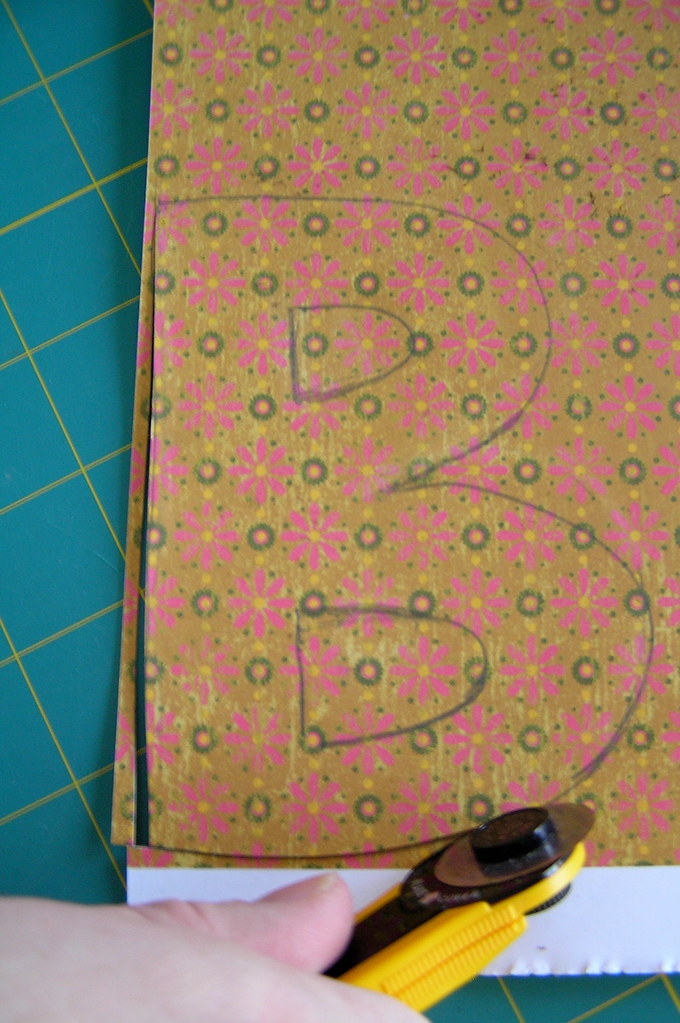
cut out your letter.
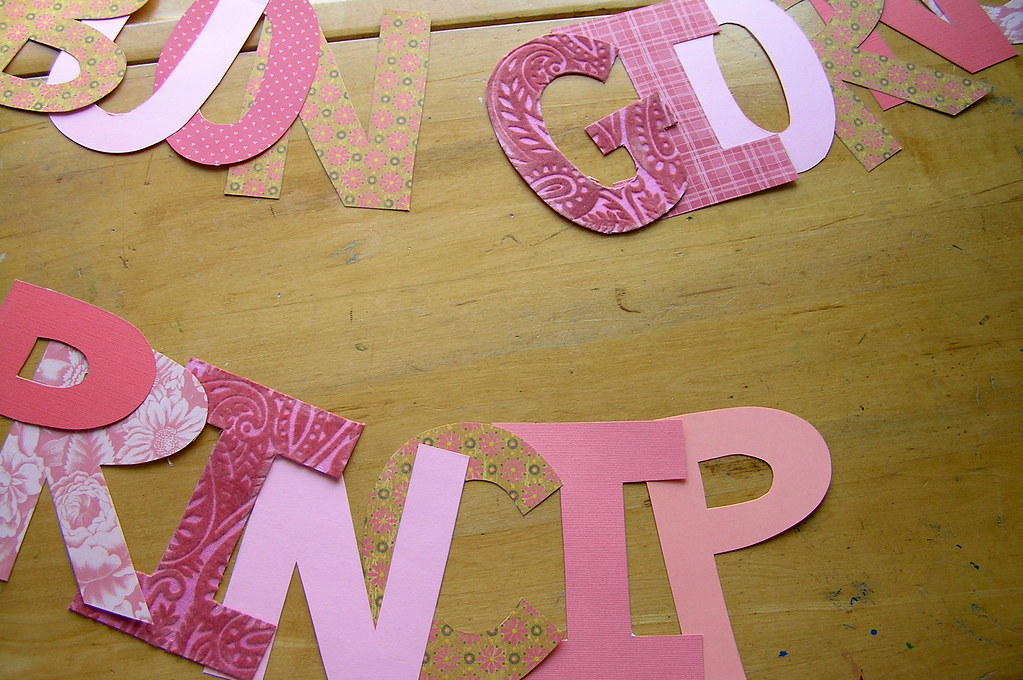
now repeat this process until you have all of your letters cut out. i figure out the order of my papers beforehand so i can get into a groove when cutting.
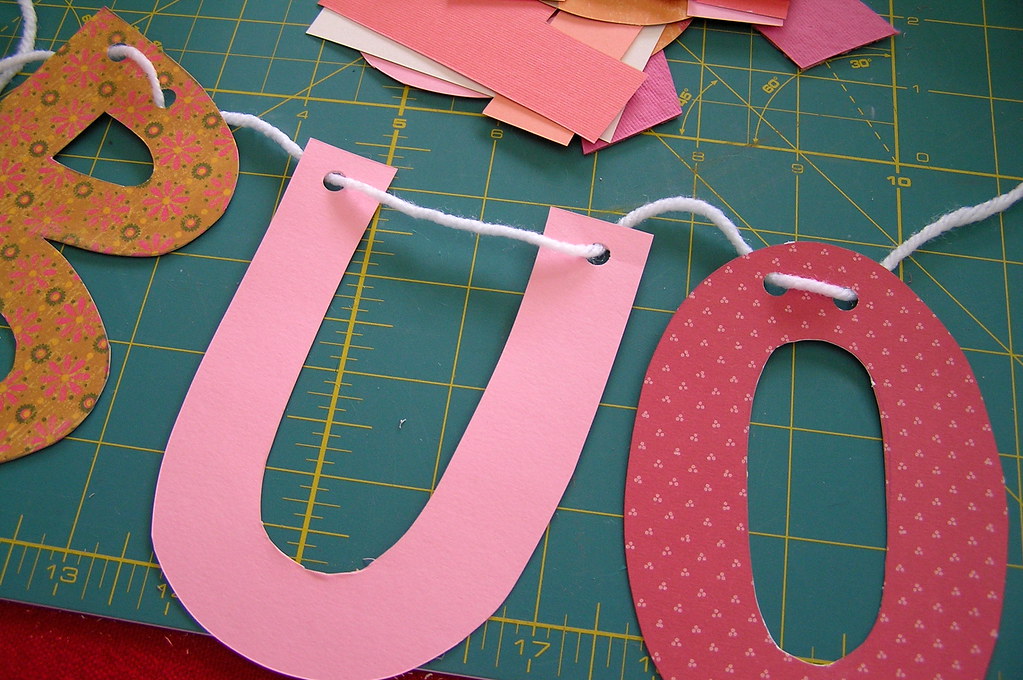
once compiled, holepunch the top of your letters - aim for two punches per letter. then thread yarn through your punched letters from the back to the front and then to the back again. i find they lay flatter against the wall like this.
that't it. you will need to adjust placement of the letters once you hang the banner. but they slide easily on the yarn.
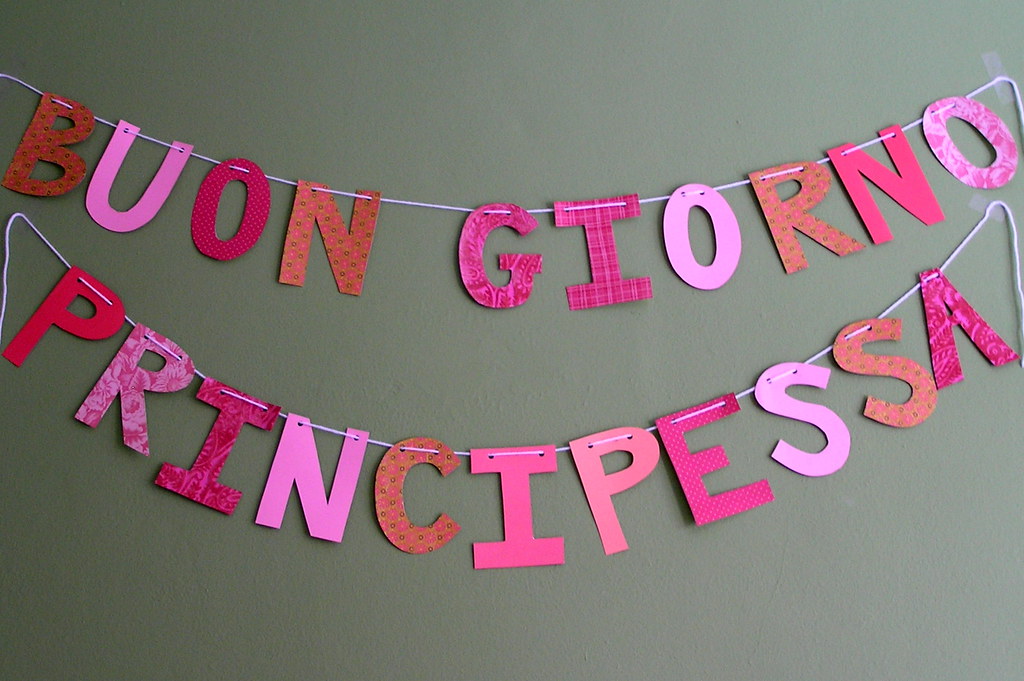
cute, huh? from my favorite movie and very appropriate for our little princess. it is hard to tell in the photo, but i chose a textured velvety paper to spell out her name for a little extra somethin' somethin'.
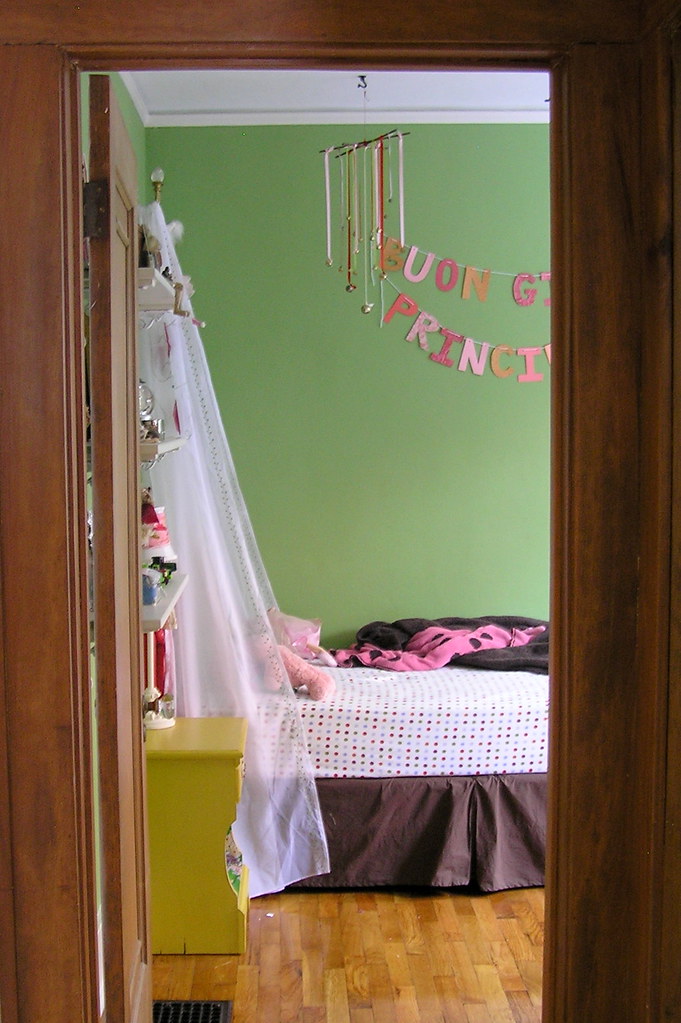
now it can greet her each day when she wakes.
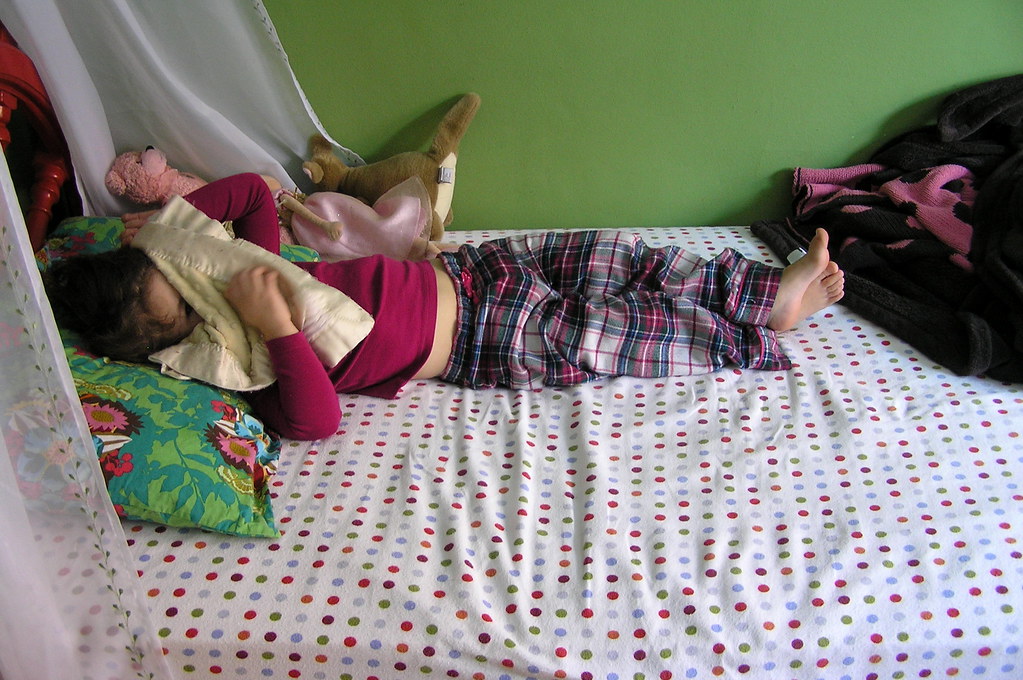
don't worry, she is just hiding from the camera carrying mama, not her pretty sign. she loves it. even thanked me for making it all pink. bonus.

5 comments:
I saw the Buon and immediately knew what you were going to say and of course immediately thought of that AMAZING movie. I'm about to go to Hobby Lobby to get materials for embroidered burlap. We'll see how that goes. I also now feel that I need a self-healing mat and rotary cutter. Hmm...
you are amazing...an overflowing fount of creativity!
Ohhhhh I love it. I caught a glimpse of your first banner in a photo and tried tracking back to find a picture of the whole thing. I'm so happy to see it and it is soo sooo wonderful! Thanks for a great idea for this snow day!
I love this banner!!! and the idea with the frame is great, I'll certainly use it, thank you for this tutorial!!!
Adorable banner!! It'd make a great celebration banner, but what a good idea for a lil girl's room. I love that she thanked you for making it pink. Sounds like something my 4-year-old would say :) Great work!
Post a Comment
hey there. i love to read your comments! thanks for stopping by!